Landing in the United States as an international student can feel like stepping onto a new planet, especially when you have just 30 days to turn a suitcase full of hopes into a functional daily life. This first 30 days in USA as an international student checklist walks you through every critical milestone—from understanding the 30‑day entry rule on your visa to opening a U.S. bank account before you even board the plane. You’ll learn how to secure housing, get a Social Security Number, activate campus services, enroll in health insurance, and start building credit—all with practical, up‑to‑date advice sourced from USCIS, student forums, and the latest fintech solutions.
- Visa timeline matters: Know the 30‑day entry window and the grace period for maintaining valid F‑1 status.
- Banking before arrival: Zolve lets you open a U.S. checking account without an SSN, saving time and fees.
- Essential registrations: Social Security, I‑9 verification, and campus portal access must be completed within the first weeks.
- Health coverage is non‑negotiable: Enroll in university‑required insurance and locate nearby clinics right away.
- Credit building starts now: Get a student credit card, set a budget, and track expenses from day one.
Apply for a credit card even without SSN. Explore Zolve.
Understand Your Visa Timeline: The 30‑Day Entry Rule and Maintaining Valid Status
USCIS permits F‑1 students to enter the country up to 30 days before the program start date listed on the I‑20 form. Missing this window can trigger a “late entry” issue, jeopardizing your SEVIS record. After arrival, you have a 60‑day grace period to complete initial registration and secure housing, but you must maintain full‑time enrollment to keep your status.
Key Visa Actions
- Confirm program start date: Verify the date on your I‑20 and mark the 30‑day entry window on your calendar.
- Schedule a SEVIS check‑in: Contact your international student office within the first two weeks to confirm your arrival.
- Plan for travel documentation: Carry your passport, visa, and I‑20 when flying domestically for any reason.
Pro tip: Keep a digital copy of your I‑20 in a secure cloud folder; you’ll need it for airport security, bank verification, and future visa renewals.
Open a U.S. Bank Account Before Arrival – How Zolve Enables Seamless Banking for New Arrivals
Traditional banks typically require a Social Security Number (SSN) and a U.S. address, which you won’t have until after landing. Zolve’s fintech platform bypasses these hurdles, allowing you to open a checking account online with just your passport, visa, and I‑20. This means you can receive tuition refunds, pay rent, and set up automatic payments from day one.
Comparison: Zolve vs. Traditional U.S. Banks
| Feature | Zolve | Traditional Bank |
|---|---|---|
| SSN Requirement | No | Yes |
| Monthly fee | $0 | $5‑$12 |
| Online onboarding time | 5 minutes | 1‑2 weeks |
| Credit‑building option | Student credit card | Limited for newcomers |
Zolve has helped over 50,000 international students open U.S. accounts without waiting for an SSN, cutting the onboarding time by 95%.
Ready to skip the line? Open a Zolve checking account today and start receiving your first paycheck before you land.
Secure Housing, Transportation, and Utilities Within Your First Month
Finding a place to live is the top priority on most student forums (Reddit r/InternationalStudent, July 2026). Aim for off‑campus apartments or university‑affiliated housing that allows a short‑term lease. Once you have an address, set up utilities (electricity, water, internet) using your Zolve account to pay online instantly.
Transportation Essentials
- Public transit pass: Most cities offer student discounts; purchase within the first week to avoid higher cash fares.
- Ride‑share apps: Link your Zolve debit card to Uber/Lyft for seamless payments.
- Driver’s license: If you plan to drive, apply for a state ID within 30 days (see section on mandatory registrations).
Complete Mandatory Registrations: Social Security Number, I‑9 Verification, and Campus Services
Without an SSN you cannot work on‑campus, file taxes, or open many credit products. The Social Security Administration (SSA) allows international students to apply after they have a job offer or a scholarship that pays in the U.S.
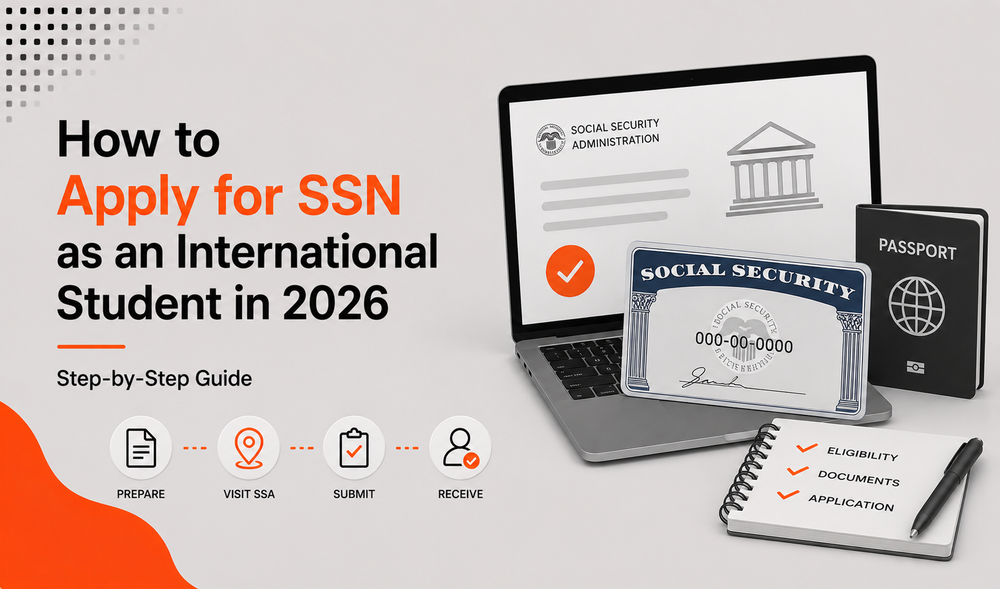
Step‑by‑Step SSN Application
- Obtain a job offer or on‑campus employment letter: Your university’s career center can help.
- Gather documents: Passport, I‑94, I‑20, and employment verification letter.
- Visit the nearest SSA office: Bring originals; you’ll receive a receipt and a temporary number.
- Activate your SSN: It arrives by mail within 7‑14 days.
Simultaneously, complete the I‑9 verification with your employer and register for campus services (email, library, gym) using your university portal.
Enroll in Health Insurance and Locate Medical Care Immediately After Landing
U.S. law requires all international students to have health coverage that meets the university’s minimum standards. Most schools automatically enroll you in a student plan, but you can also compare alternatives for better networks.
Finding a Provider
- University health center: Usually the most affordable and familiar with student needs.
- Local urgent care: Use Zolve’s mobile banking to pay co‑pays instantly.
- Emergency services: Dial 911; keep your insurance card (digital copy works) handy.
For detailed plan options, see the U.S. HealthCare.gov site, which lists approved student plans.
Start Building Credit and Budgeting Wisely During Your First 30 Days
Credit history in the U.S. begins the moment you open a financial product that reports to the bureaus. Zolve offers a student credit card that reports to all three major agencies, letting you start building a score while you’re still studying.
Budgeting Basics
- Set a monthly budget: Allocate 30% for rent, 15% for food, 10% for transportation, 20% for savings, and 25% for miscellaneous.
- Track expenses in real time: Use Zolve’s mobile app to categorize spending and receive alerts.
- Pay credit card in full: Avoid interest and boost your credit utilization ratio.
According to a 2025 study by the Federal Reserve, students who start credit building in their first semester see a 15% higher credit score after two years.
Conclusion
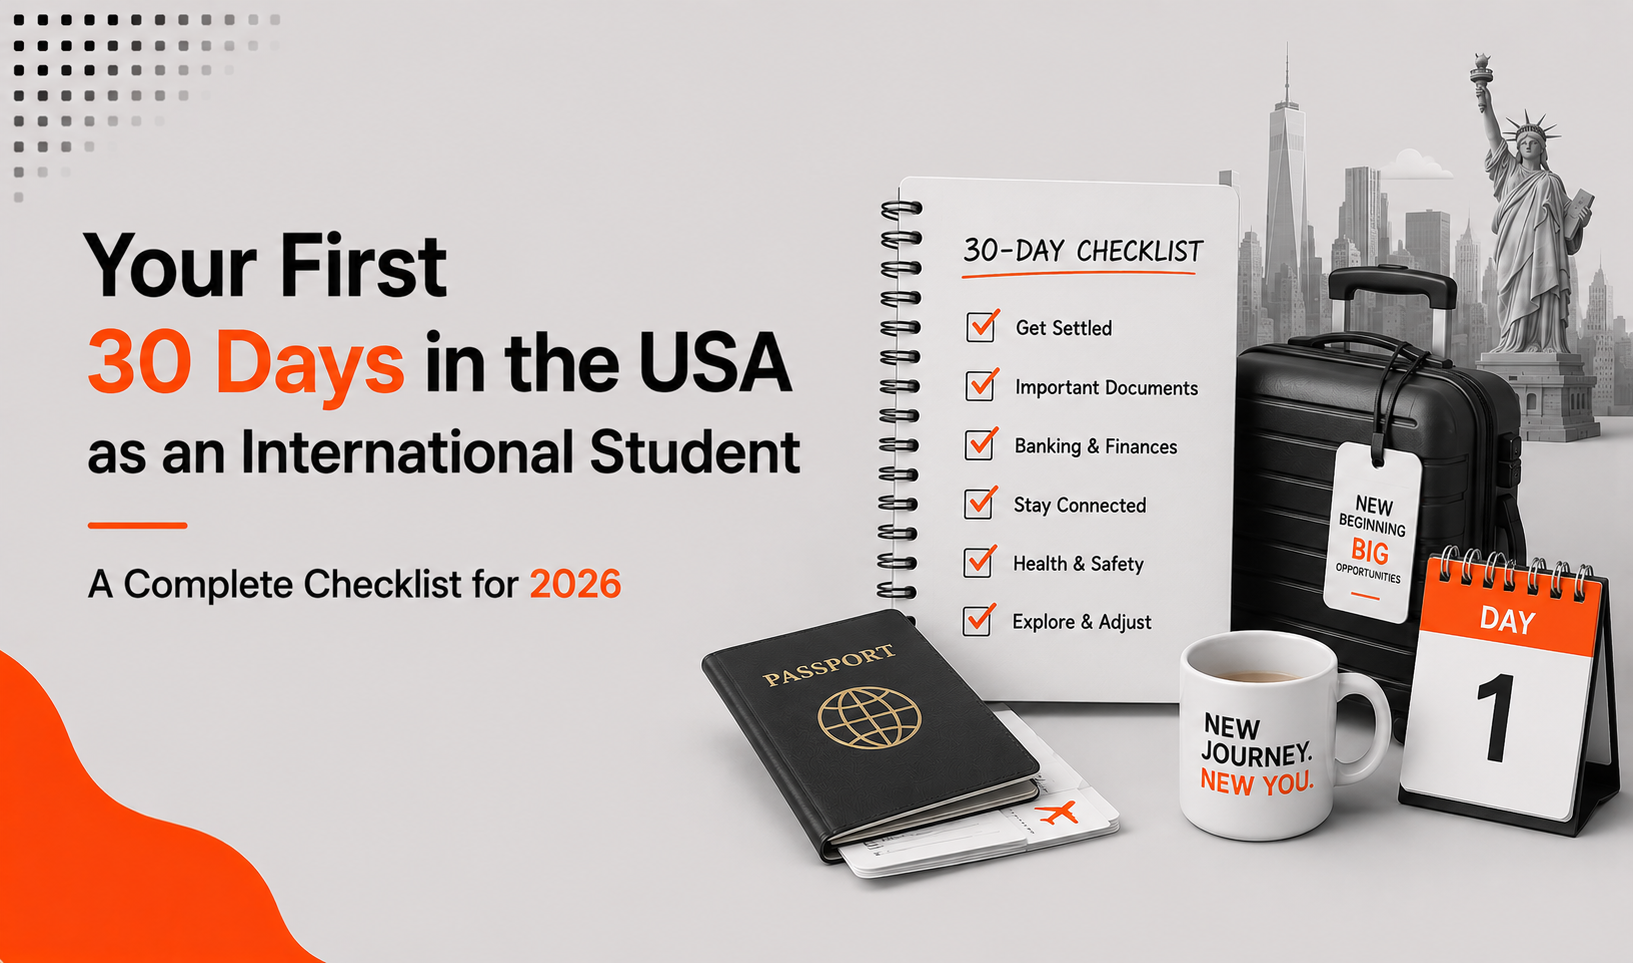
Navigating the first 30 days in the USA as an international student can feel overwhelming, but with a clear checklist you can turn chaos into confidence. From mastering the visa entry window and opening a Zolve checking account before you land, to securing housing, completing mandatory registrations, enrolling in health insurance, and beginning to build credit, each step sets a solid foundation for academic and financial success. Follow this roadmap, stay proactive, and you’ll be well‑prepared to thrive in your new American adventure.
FAQs
What is the 30‑day entry rule for F‑1 students?
You may enter the U.S. up to 30 days before the program start date on your I‑20; arriving later can affect your SEVIS record.
Can I open a U.S. bank account without an SSN?
Yes, Zolve lets you open a checking account using only your passport, visa, and I‑20, avoiding the typical SSN requirement.
When should I apply for a Social Security Number?
Apply after you secure on‑campus employment or a scholarship that pays in the U.S., typically within the first month.
Do I need health insurance the moment I land?
All universities require coverage that meets minimum standards; you’re usually auto‑enrolled, but you can verify the plan’s network quickly.
How can I start building credit right away?
Obtain a student credit card, such as Zolve credit card, that reports to credit bureaus, use it responsibly, and pay the balance in full each month.